Key Takeaways
- The design process always starts by defining a clear goal or problem to be solved.
- Creating a simple “blueprint” helps organize ideas and prevent major mistakes during the build.
- Testing the bot and debugging the code are crucial steps to ensure the design is functional.
- The final stage involves continuous improvement, making the design process a cyclical learning loop.
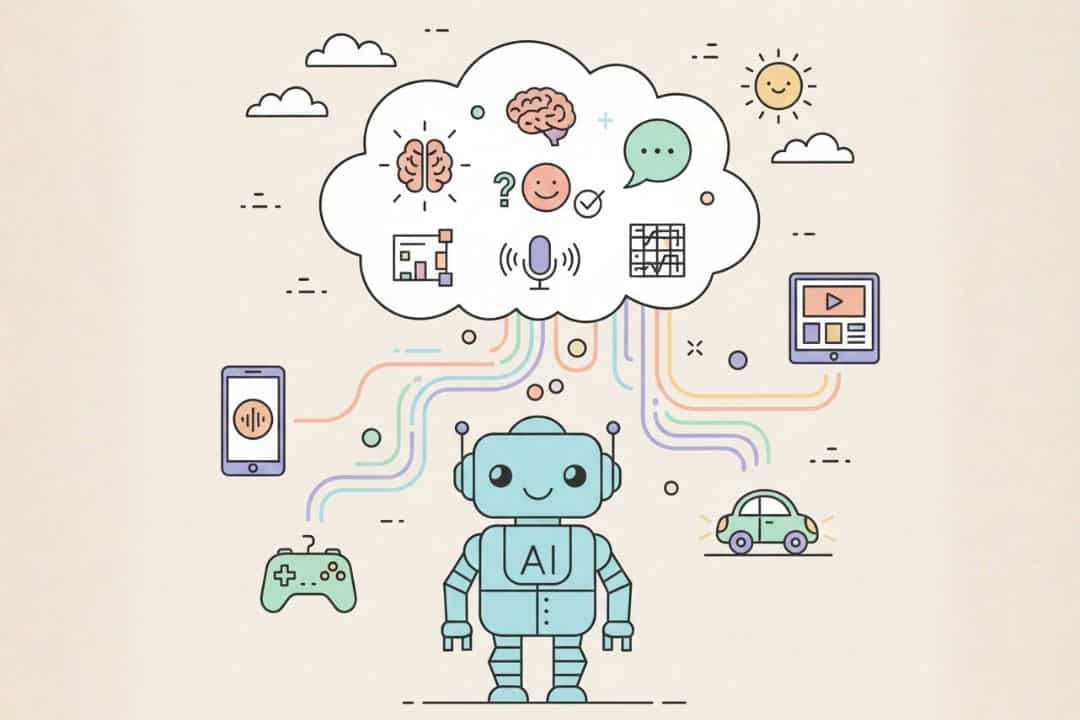
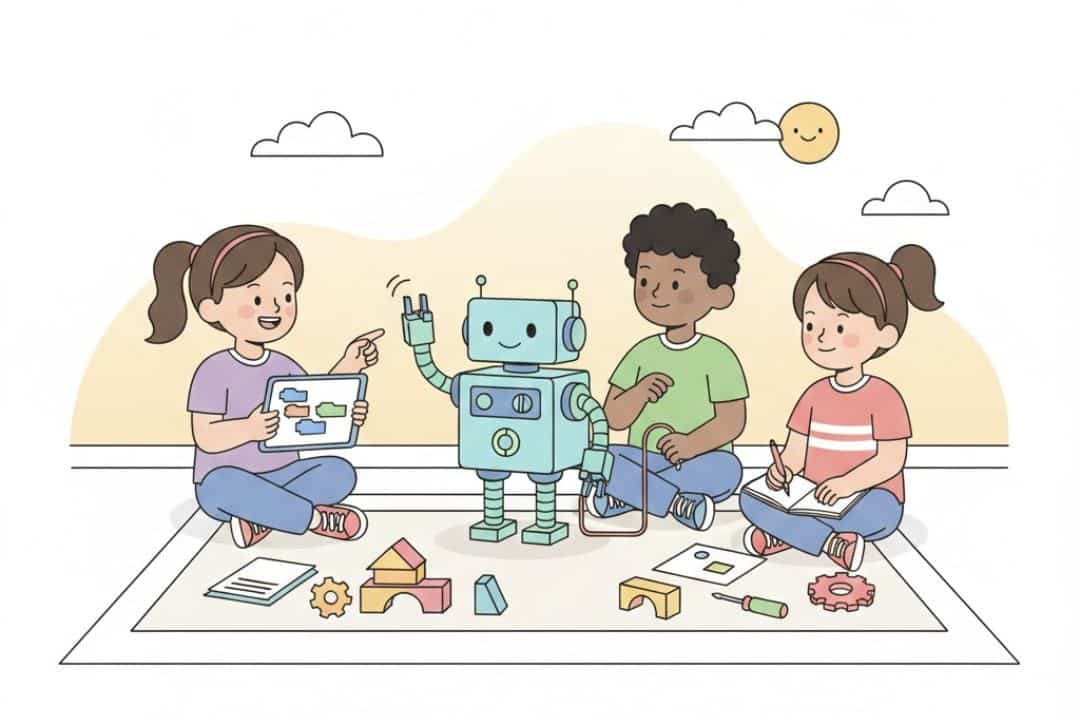
Building a robot can seem like a magical process, but behind every successful bot—from a simple LEGO creation to a complex industrial machine—is a structured and repeatable framework called the Engineering Design Process. At OhmsKids Coding Class in Singapore, we don’t just teach kids how to stack bricks; we teach them how to think like engineers. We guide them through this step-by-step process, turning abstract ideas into tangible, functioning robots.
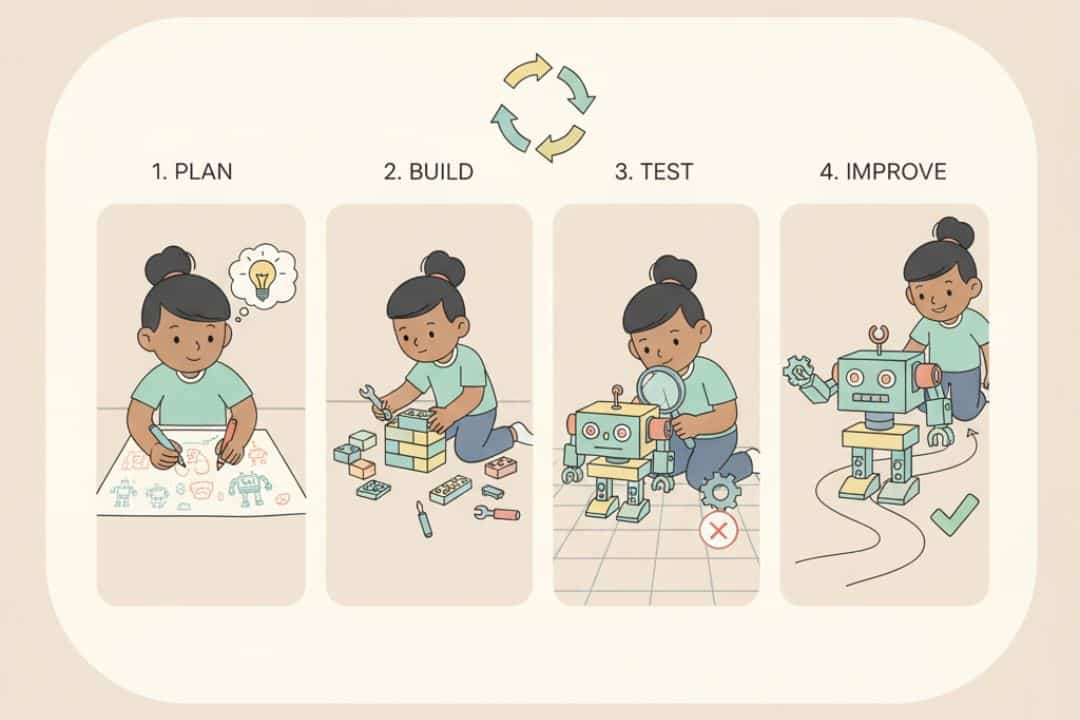
Here is the fun, four-step design journey your child takes:
Step 1: Identify and Imagine (The Blueprint Phase)
Before the first brick is clicked into place, we focus on the problem. What is the robot supposed to do? Is it meant to sort colours, navigate a maze, or pick up an object?
- Define the Goal: Kids learn to articulate the robot’s mission. This clarity is the foundation of the entire project.
- Brainstorm Solutions: Students draw simple sketches, or blueprints, exploring different ways the robot could be built. This is where their creativity shines and where they learn that there is no single “right” answer. This planning stage is vital for success, much like the focus required for debugging and persistence in code.
Step 2: Build and Code (The Creation Phase)
Once a clear plan is agreed upon, it’s time for construction. This is where the physical and digital come together.
- The Physical Build: Students follow their blueprints, selecting the right gears, motors, and sensors. They learn about structural stability, balance, and mechanical advantage.
- The Programming: Simultaneously, they write the code that will bring the structure to life. This coding must directly address the goals established in Step 1. In our robotics classes, we ensure the code aligns perfectly with the mechanical design.
Step 3: Test and Debug (The Critical Phase)
This is often the most revealing and important step. The first run almost never goes perfectly, and that’s a good thing!
- Run the Test: The bot is put to the task. Did it move too fast? Did the sensor miss the line?
- Identify the Flaws: Kids document what went wrong. This is a practical exercise in collaborative problem-solving, as they work together to isolate the bug—whether it’s a loose connection in the wiring or an error in the programming logic.
Step 4: Improve and Iterate (The Iterative Phase)
True engineering is all about refining the solution. After testing, students don’t stop; they circle back to the first steps with new knowledge.
- Modify the Design: They adjust the physical structure (adding a counterweight, moving a sensor) or modify the code to fix the identified bugs.
- Repeat the Cycle: They repeat the test. The process is a cycle: Plan $\rightarrow$ Build $\rightarrow$ Test $\rightarrow$ Improve. This teaches children that failure is merely a detour on the road to innovation.
By engaging in this systematic process, your child learns to manage projects, overcome obstacles, and transform a simple idea into a functional machine, gaining invaluable skills that extend far beyond their time in our coding class in Singapore.